
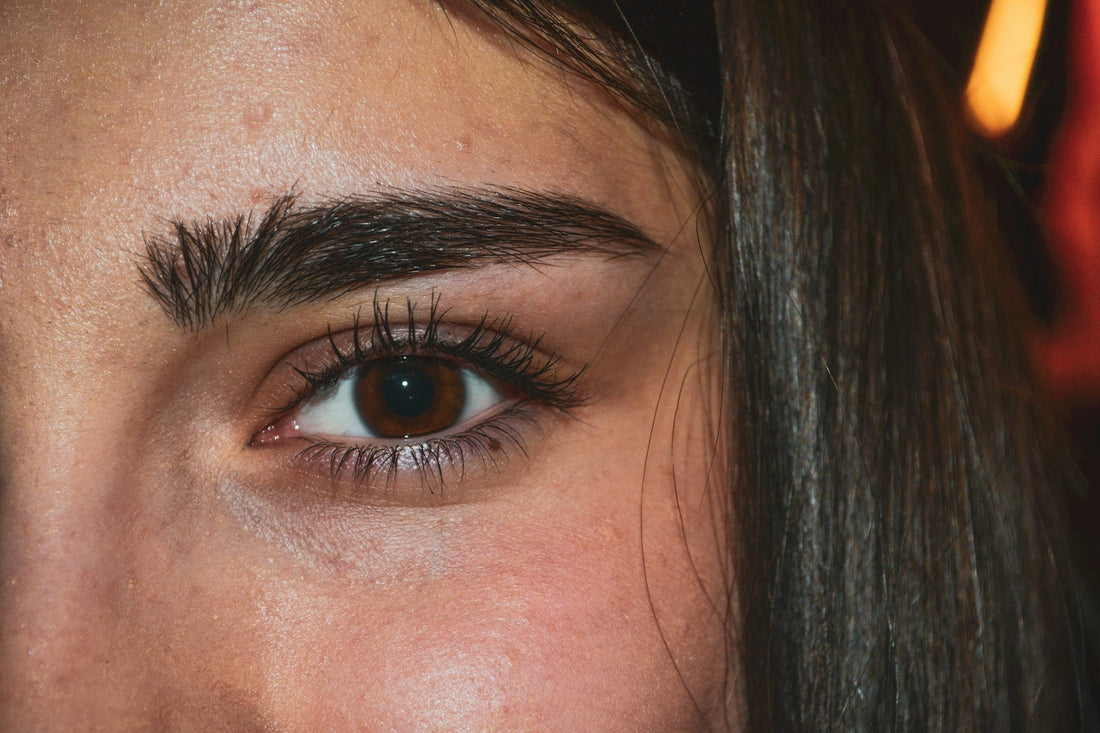
Well-groomed eyebrows can transform your entire face, enhancing your features and framing your eyes beautifully.
Share
While professional salons offer eyebrow shaping services, mastering the art at home is not only convenient but also cost-effective. With the right tools, techniques, and a little patience, you can achieve clean, polished brows that complement your facial structure.
This guide will explore the best techniques for eyebrow shaping at home, tools to invest in, and tips for maintaining the perfect arch.
🌱 Why Proper Eyebrow Shaping Matters
-
Enhances Facial Features: Well-shaped brows balance facial proportions and accentuate eyes.
-
Defines Expression: Brows play a key role in expressing emotions—shaping them can make you look more awake and youthful.
-
Reduces Daily Makeup Time: Clean, well-groomed brows may require minimal filling or defining each day.
-
Boosts Confidence: A polished brow look can instantly elevate your appearance and self-esteem.
🧴 Essential Tools for Home Eyebrow Shaping
-
Tweezers
-
Opt for slanted-tip tweezers for precision.
-
Look for stainless steel options for durability and ease of cleaning.
-
-
Eyebrow Scissors
-
Small, sharp scissors help trim long, unruly hairs without overcutting.
-
-
Spoolie Brush
-
Essential for brushing hairs upward, combing through brows, and blending pencil or powder.
-
-
Eyebrow Pencil or Powder
-
Helps define the shape, fill in sparse areas, and create a natural look.
-
-
Eyebrow Stencils (Optional)
-
Useful for beginners to outline a preferred shape before tweezing or trimming.
-
-
Eyebrow Gel
-
Keeps brows in place and locks in the desired shape throughout the day.
-
🌸 Steps for Shaping Eyebrows at Home
Step 1: Determine Your Ideal Shape
-
Use the “three-point method”:
-
Line from the corner of your nose to the inner corner of the brow → start point.
-
Line from the corner of the nose through the iris → arch point.
-
Line from the corner of the nose to the outer corner of the eye → end point.
-
-
Mark these points lightly with a pencil to guide shaping.
Step 2: Brush and Trim
-
Brush hairs upward with a spoolie.
-
Trim excessively long hairs above the natural brow line using small scissors.
Step 3: Tweeze Stray Hairs
-
Tweeze hairs outside the marked shape.
-
Pull hairs in the direction of growth to reduce pain and prevent breakage.
-
Take breaks to step back and check symmetry.
Step 4: Fill and Define
-
Use eyebrow pencil or powder to fill sparse areas.
-
Apply in short, feathery strokes to mimic natural hair growth.
Step 5: Set with Gel
-
Apply clear or tinted brow gel to hold hairs in place and enhance texture.
🌟 Additional Tips for Home Eyebrow Shaping
-
Avoid Over-Tweezing: Remove only hairs outside your natural shape.
-
Good Lighting: Natural daylight is best for precision.
-
Regular Maintenance: Shape every 2–3 weeks to maintain a polished look.
-
Patch Test for New Products: Eyebrow gels or tints may irritate sensitive skin.
-
Customize Based on Face Shape: Round, oval, heart, or square faces may require slightly different brow arches.
🌸 Quick Fixes Between Shaping
-
Use spoolie brush to tame unruly hairs.
-
Apply light pencil strokes for sparse spots.
-
Brow powder or tinted gel can fill gaps for a natural, full look.
🌟 Final Thoughts
Shaping your eyebrows at home is practical, empowering, and rewarding. With the right tools and techniques, you can achieve professional-looking brows without leaving your house. Remember to proceed slowly, follow your natural brow shape, and regularly maintain them to keep your eyebrows looking polished and flattering.
Embrace the art of self-care and let your brows frame your face beautifully every day.
👉 [Shop Home Eyebrow Shaping Tools]